Bellevue Kitchen Remodeling: Priming Steps That Decide How Long Your Finish Lasts
Posted
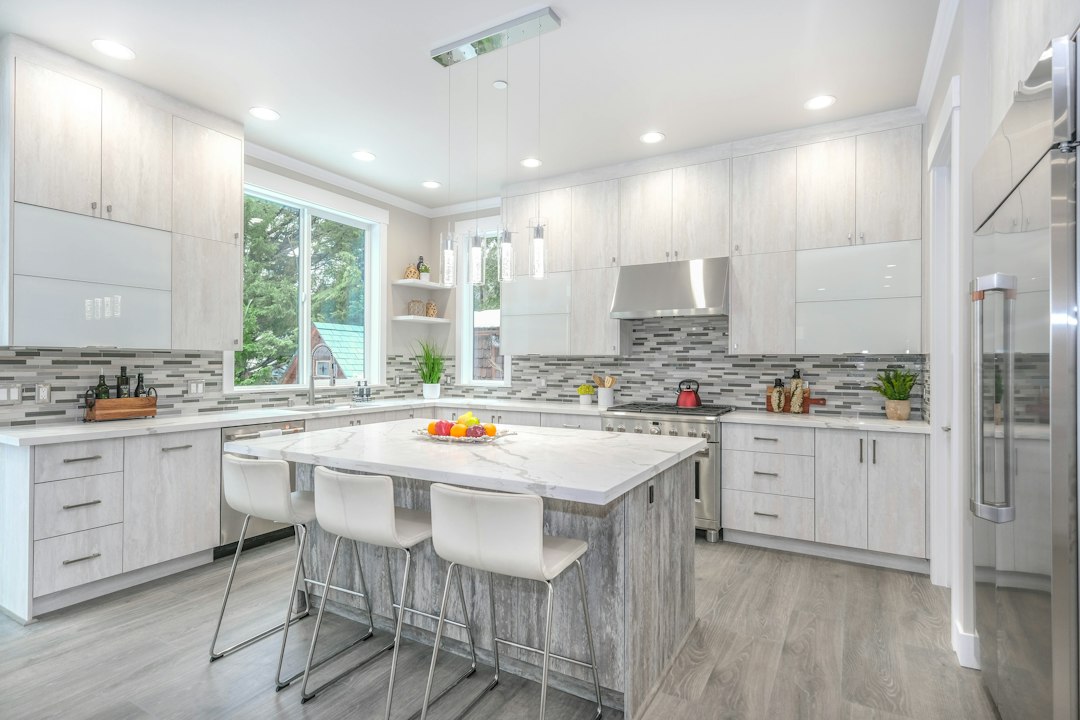
Most failed kitchen paint jobs in Bellevue trace back to what happened before the first coat of color: a greasy surface, a skipped scuff sand, or a primer that was never meant for the job. Primer is the cheapest layer in a remodel and the one that quietly decides whether cabinets and walls still look sharp in three years or are chipping at the pulls by spring.
Start With the Grease You Cannot See
Cooking leaves a thin film on cabinets, walls and ceilings, and primer will not bond to it. Wash every surface with a dedicated degreaser, rinse with clean water, and let it dry fully. Pay extra attention to the doors beside the range and the cabinet tops above the hood, where the film is heaviest.
Glossy cabinet finishes come next. A scuff sand with fine paper, roughly 180 to 220 grit, dulls the sheen so the primer has something to grip. The goal is a dull surface, not bare wood. Wipe away all the dust with a damp microfiber cloth or a tack cloth before opening the can.
Remove, Label and Mask Before Anything Else
Prep order matters as much as product choice. Take the doors and drawer fronts off their boxes, pull the hinges and pulls, and label each door and its matching opening with painter's tape and a pencil mark on a hidden edge. Doors that go back in the wrong spot rarely hang quite the same, and the gaps show.
Paint the doors flat on sawhorses or a rack, one face at a time, rather than standing them up where drips run. On the boxes that stay in place, mask the countertop edge, the backsplash, the appliances and the floor with tape and drop cloths. Run the tape edge down firmly with a putty knife so primer cannot creep underneath.
Why Bellevue Homes Raise Extra Questions
Plenty of the housing around Lake Hills, Crossroads and Newport Hills dates from the postwar decades. Paint applied before 1978 may contain lead, and sanding it makes hazardous dust. Test first with a lead test kit or a certified tester, and decide on the method only after you know the result.
Ceilings deserve the same caution. Kitchens in homes built from roughly the 1960s into the 1980s may have textured "popcorn" ceilings, and that texture can contain asbestos. Have a sample tested before anyone scrapes it.
Homeowners weighing a bigger project often find that these discoveries change the plan, which is why kitchen remodeling throughout bellevue so often starts with testing and surface assessment instead of paint swatches.
Identify What Is Already on the Surface
Latex applied directly over oil tends to peel, so find out which you have. Soak a cotton ball in rubbing alcohol and rub a hidden spot. If paint comes off on the cotton, the finish is latex. If nothing transfers, treat it as oil and use a bonding primer.
A bonding primer is not magic. It still needs a clean, scuffed surface, and it will not rescue loose or peeling paint. Remove anything that is lifting first, or the new coating peels away with it.
Test One Door Before Committing the Kitchen
Before priming every surface, prime and finish one door from the back of a lower cabinet, or a spare scrap from the same material. Let it cure for several days, then press a thumbnail into the edge, scrub it with a damp cloth, and tape a strip of painter's tape across it and pull it off. If the coating lifts, the prep or the primer is wrong, and finding that out on a single door saves the whole kitchen.
This small test also shows how the tinted primer and topcoat look together under your own kitchen lighting, which is often warmer or cooler than the store aisle. It costs a few days, and it is the cheapest insurance in the project.
Match the Primer to the Problem
Stains and cooking residue
Water stains, smoke, grease marks and heavy cooking residue bleed back through ordinary water based primer, sometimes within days. Only stain blocking formulas, typically shellac based or oil based, reliably stop that. Spot treat the marks, then prime the whole surface so the sheen stays even.
Knots, tannins and open grain
Knots in pine and tannins in woods like oak can bleed yellow or brown through water based paint. A shellac based primer seals them. Open grain oak will also telegraph through paint unless you fill the grain first.
New drywall and patches
Bare joint compound absorbs paint differently from paper facing, which causes flashing, those dull or shiny patches in the finish coat. Prime new drywall and repairs with a drywall or PVA primer.
MDF edges and laminate boxes
Raw MDF edges soak up primer and can swell or turn fuzzy with water based products. Use a primer suited to MDF, sand lightly once it dries, and prime again if the edge still feels rough. Laminate cabinet boxes take only a bonding primer, and even then they wear faster than painted wood at pulls and edges. Set expectations accordingly.
Wallpaper and silicone leftovers
After stripping wallpaper, wash off all the adhesive. If traces remain, choose an oil or shellac based primer, since water based primer can reactivate the paste and cause cracking or bubbling. Silicone caulk residue must be removed completely because nothing sticks to it. Replace it with paintable acrylic caulk, applied after priming bare wood.
Moisture Comes First
Bellevue's long, damp, mild winters, plus cooking steam and dishwasher vapor, encourage mildew on exterior walls, behind sinks and inside sink bases. Clean it, let the area dry completely, and confirm the range hood vents outdoors. Primer applied over damp or mildewed surfaces fails.
Working Through Cool, Wet Months
From fall through spring in the Puget Sound area, painting cabinet doors in an unheated garage can stretch drying well beyond the label time. Check the temperature and humidity range printed on the can, heat the workspace, and keep air moving. Damp air slows drying, but heat and ventilation solve the problem, so winter does not rule out indoor painting.
Cold snaps do happen, even if long hard freezes are rare here. A can of water based primer left in an unheated garage can freeze. If it turns lumpy or separates and will not stir smooth, do not use it.
Application Habits That Show in the Finish
- Apply thin, even coats. Heavy primer dries slowly, sags and can crack.
- Tint the primer toward the topcoat for deep colors. Gray tinted primer under dark or saturated colors reduces the number of finish coats, while bright white under deep red or navy shows through.
- Fill old hardware holes if new pulls use different spacing, sand them flush, and spot prime the patches before the full coat so the filler does not show as a dull spot.
- Sand lightly between primer and finish with very fine paper. That quick pass removes dust nibs and raised grain, and it is the main difference between a smooth factory look and a brushed DIY look.
Never leave primer as the final surface. It is porous and not built to be scrubbed, so it stains easily and absorbs grease. It always needs a topcoat.
Safety With Solvent Primers
Shellac and oil primers give off strong fumes. Open windows, run fans that exhaust outdoors, and wear a respirator with organic vapor cartridges. Rags wet with oil based products can heat up and ignite on their own when bunched together. Lay them flat outdoors to dry, or keep them in a sealed metal container with water.
Dry Is Not the Same as Cured
Primer and paint can feel dry within hours yet take much longer to harden. Rehanging doors too early leads to dents, fingerprints and blocking, where doors stick to their frames. Add soft bumpers and handle cabinets gently for the first few weeks.
When Primer Is the Wrong Answer
Primer cannot save peeling thermofoil or delaminating laminate. Thermofoil often lifts near ovens and dishwashers because heat breaks down the adhesive. Once it lifts, the honest choices are new doors or new cabinets, and painting over damaged surfaces never gives the lasting result of painting solid wood. Likewise, a paint and primer in one product does not remove the need for a separate primer over oil, stains, glossy finishes or bare wood.
If the boxes are sound, refinishing done in the right order is a fine way to refresh a kitchen. If they are failing, spend the budget on replacement and let the paint go onto surfaces that will hold it.